Installing solar road studs involves several key steps to ensure proper functionality and durability. Here is a general guide on how to install solar road studs:
Tools and Materials Needed:
Solar road studs
Drill with appropriate drill bits
Epoxy adhesive or bituminous adhesive
Wrench or screwdriver
Marker or chalk for marking positions
Measuring tape
Safety equipment (gloves, safety glasses)
Installation Steps:
1.Site Assessment:
Before installation, conduct a thorough assessment of the installation site. Ensure that the selected locations for the solar road studs are suitable, considering factors such as traffic flow, visibility, and road conditions.
2.Marking Positions:
Use a marker or chalk to clearly mark the positions where the solar road studs will be installed. Ensure proper spacing and alignment to meet road safety standards.
3.Drilling Holes:
Use a drill with an appropriate drill bit to create holes for the solar road studs. The size of the holes should match the specifications of the studs. Drill to the required depth, considering the stud’s design and the type of adhesive to be used.
4.Cleaning Holes:
Clean the drilled holes to remove debris and dust. A clean surface will facilitate better adhesion when applying adhesive.
5.Applying Adhesive:
Apply the selected adhesive (either epoxy or bituminous) into the holes. Follow the manufacturer’s instructions for the specific adhesive being used. Ensure that the adhesive is evenly distributed and covers the entire surface inside the holes.
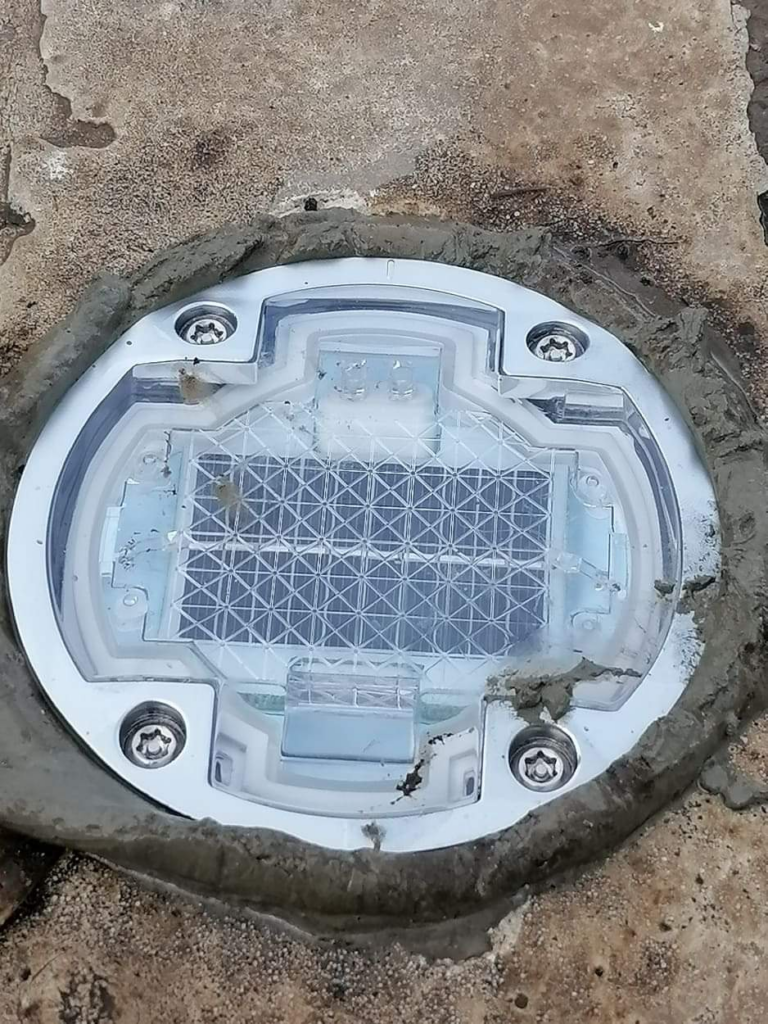
6.Inserting Solar Road Studs:
Carefully insert the solar road studs into the prepared holes. Apply slight pressure to ensure a snug fit. If the studs have a locking mechanism, engage it to secure the studs in place.

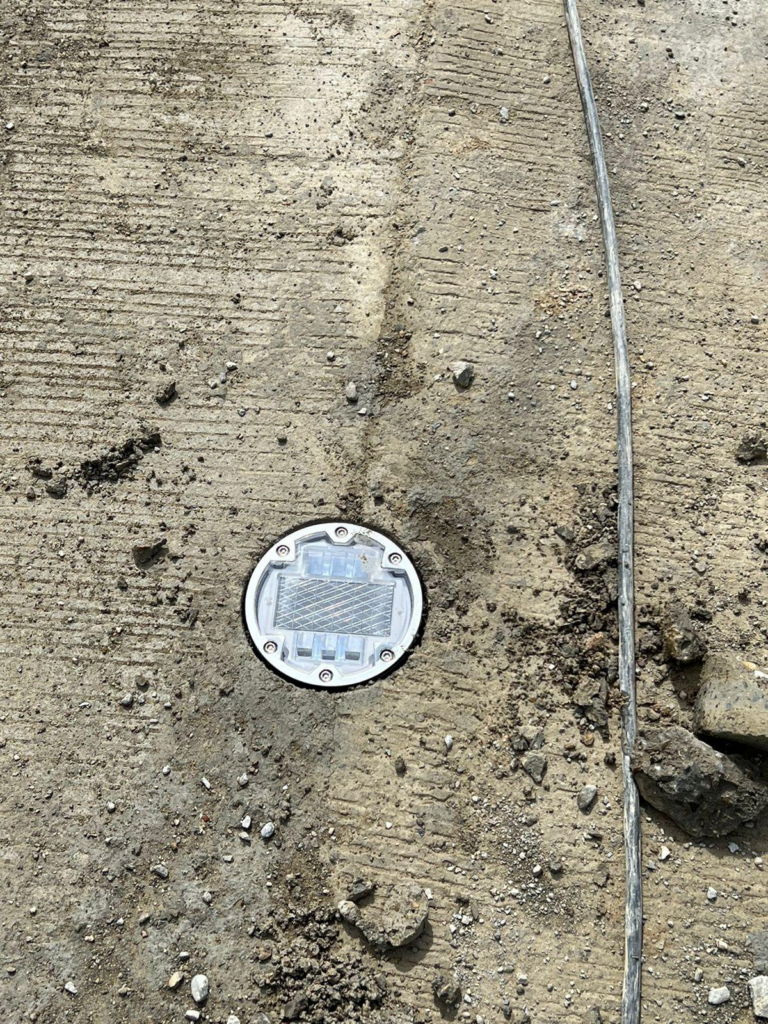
7.Adjustment and Alignment:
Adjust the solar road studs to ensure proper alignment and spacing. Verify that they are level and flush with the road surface. Make any necessary adjustments before the adhesive sets.
8.Cleaning Excess Adhesive:
Clean any excess adhesive that may have squeezed out during the installation. This helps maintain a neat appearance and ensures that the adhesive does not interfere with the solar road studs’ functionality.

9.Curing Time:
Allow the adhesive to cure according to the manufacturer’s specifications. This is crucial for achieving optimal bonding strength.
10.Testing:
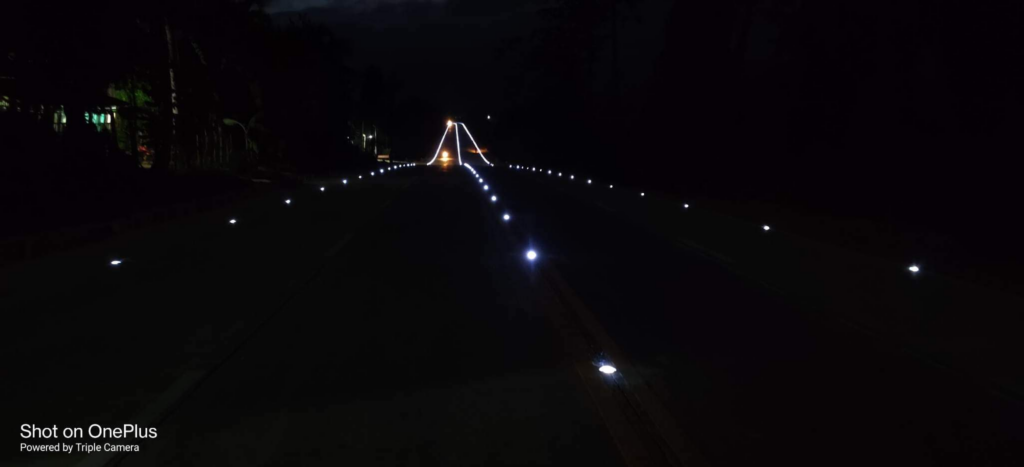
After the adhesive has fully cured, test the solar road studs to ensure that the LED lights function as intended. If any issues are identified, address them promptly.
Always refer to the manufacturer’s installation guidelines and follow any specific instructions provided with the solar road studs to ensure a successful and effective installation. Additionally, adherence to local road safety regulations is essential during the installation process.